Fresh Egg Pasta Dough - For Beginners

This pasta dough recipe is a slightly modified take on the first versions of egg pasta dough I was taught while living in Emilia Romagna. It requires only two ingredients, but they should be of the best quality available. Along with some strong arms and patience you can create beautiful versatile pasta dough that can be used for fresh tagliatelle, pappardelle , lasagne sheets or a number of filled pastas like ravioli or tortelloni.
You can make this in a stand mixer with the dough hook attachment, however I prefer to mix and knead by hand. I recommend doing it by hand if this is your first attempt at fresh pasta dough as it gives you the chance to feel the process with your hands and become more comfortable with how the dough should look and feel from start to finish. This is a basic recipe that may require slight adjustments depending on how humid or dry the air is in your workspace. You need to practice and develop a feel for the dough so you can adjust for the environment when needed. It’s all about trial and error and trying again, it takes years of practice and I still don’t always get it perfect! Be patient with yourself.
If you get tired during the kneading process, just cover the dough and leave it to rest for 5 minutes then come back to it and knead some more. This dough requires about 15 minutes of kneading in all and a final resting of 20-30 minutes before rolling it out.
Italian ”00” Flour is becoming easier to find in local grocers and markets. Italian shops sell it and of course you can source it online if necessary. This is a softer wheat that is more finely milled , producing a smoother more elastic dough. If possible try to use farm fresh local eggs or pasture raised eggs, the yolks are superior. Duck eggs work beautifully as well if you can get them.
INGREDIENTS
200 grams “00” Italian flour
1 whole large egg
2 large egg yolks
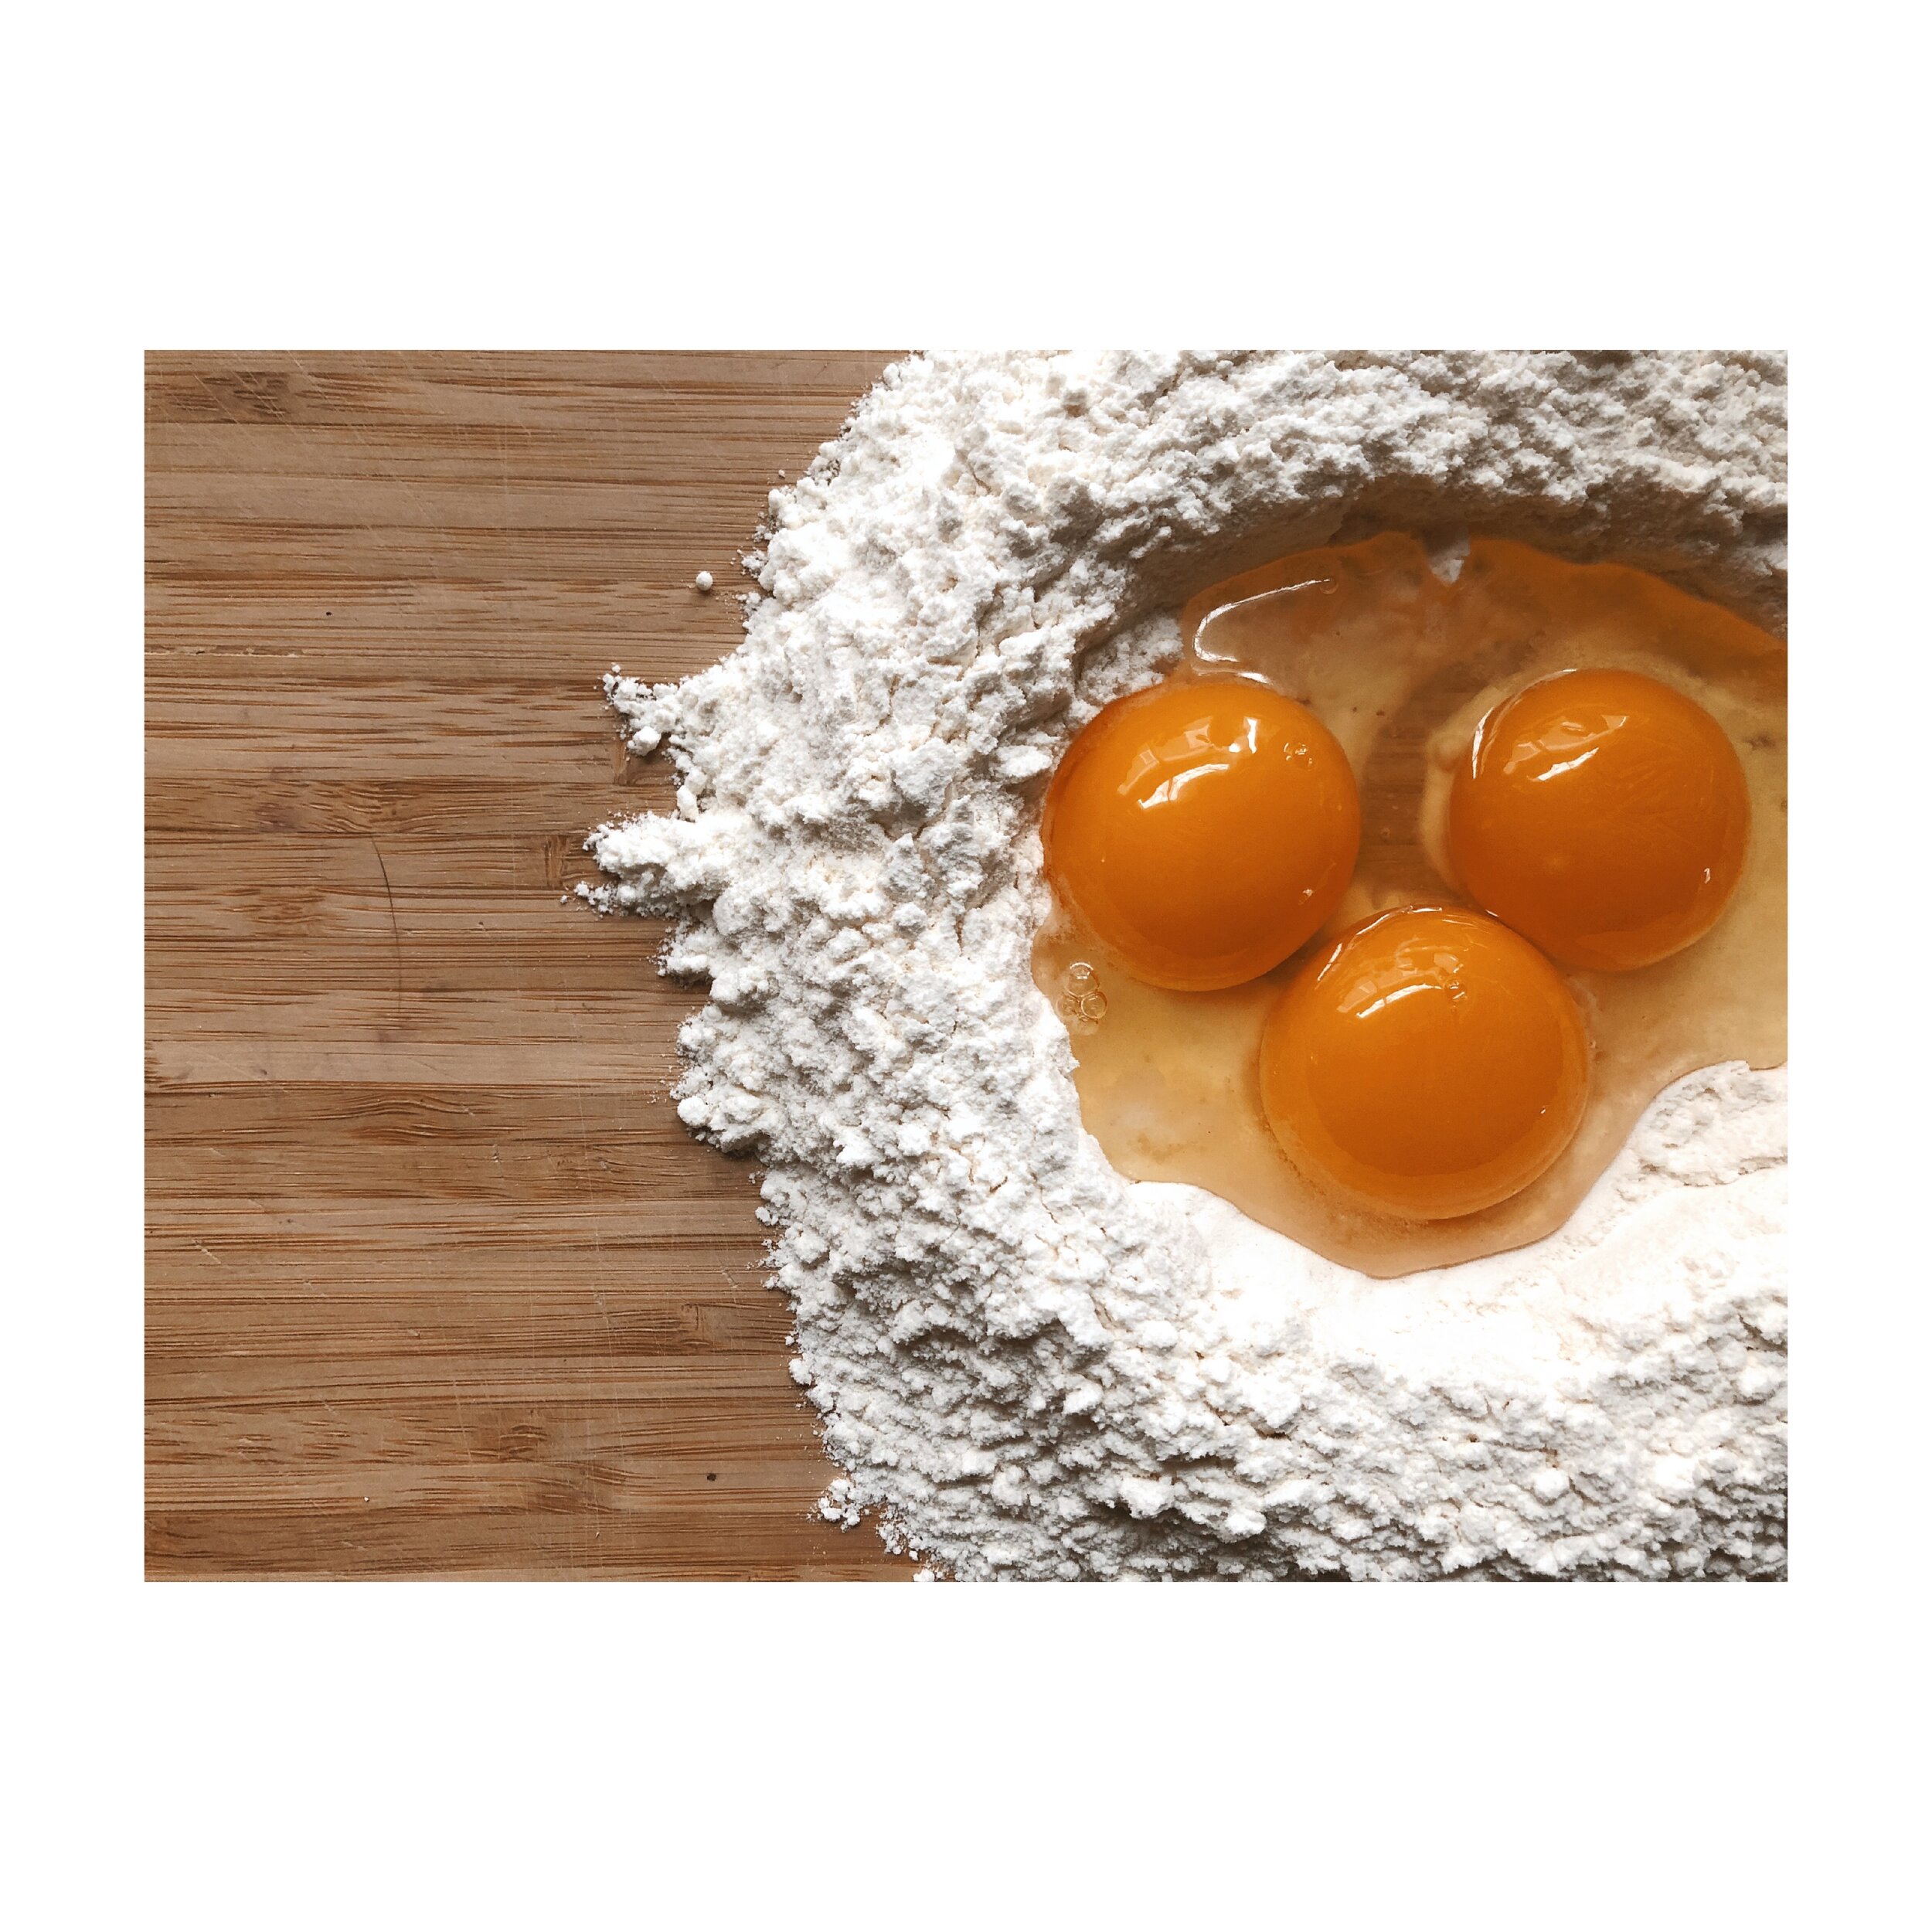
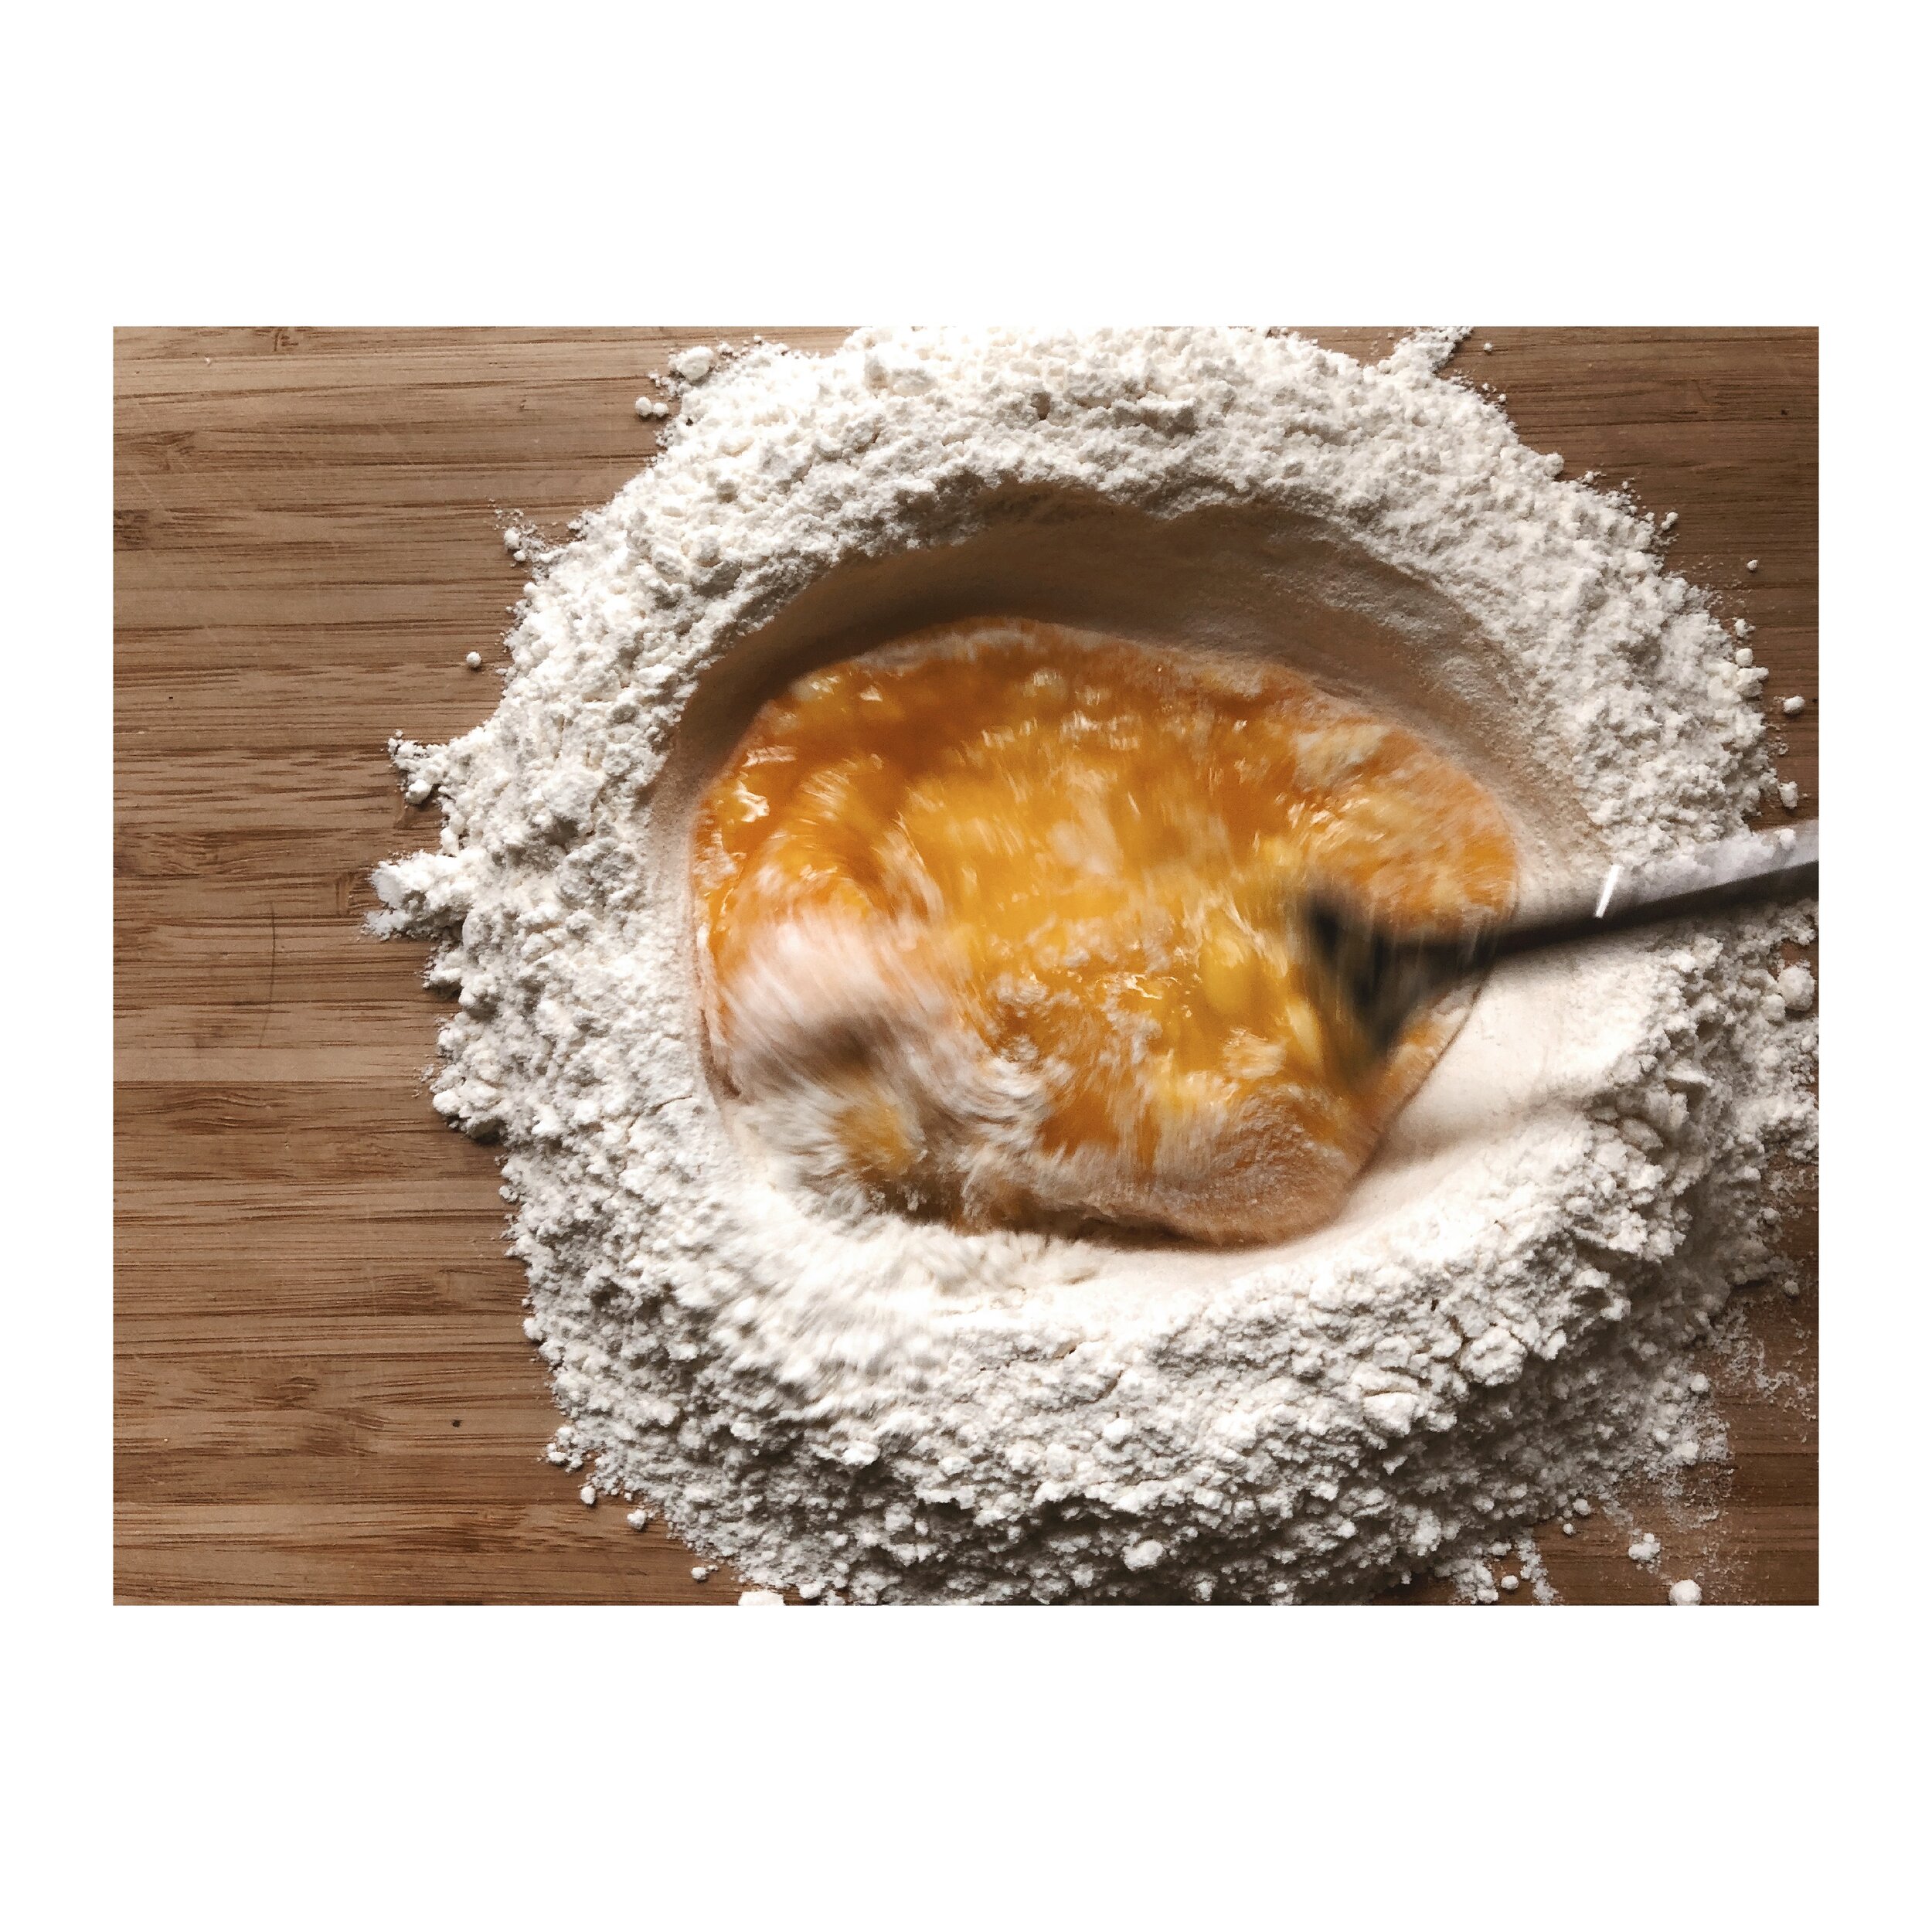
Mound your flour on a wooden board (wood is the best surface to knead, roll and rest dough) and create a well in the centre. Place the whole egg and the yolks in the centre of the well and use a fork to start breaking the eggs up and slowly incorporating a little of the flour. Continue to bring the flour in from the sides until a shaggy dough forms. I’ve included the well method because it is a classic technique, but I actually prefer to do it in a bowl. Whisk your eggs in the bowl first, than place your flour on top and mix with your hands to form a loose dough ball.
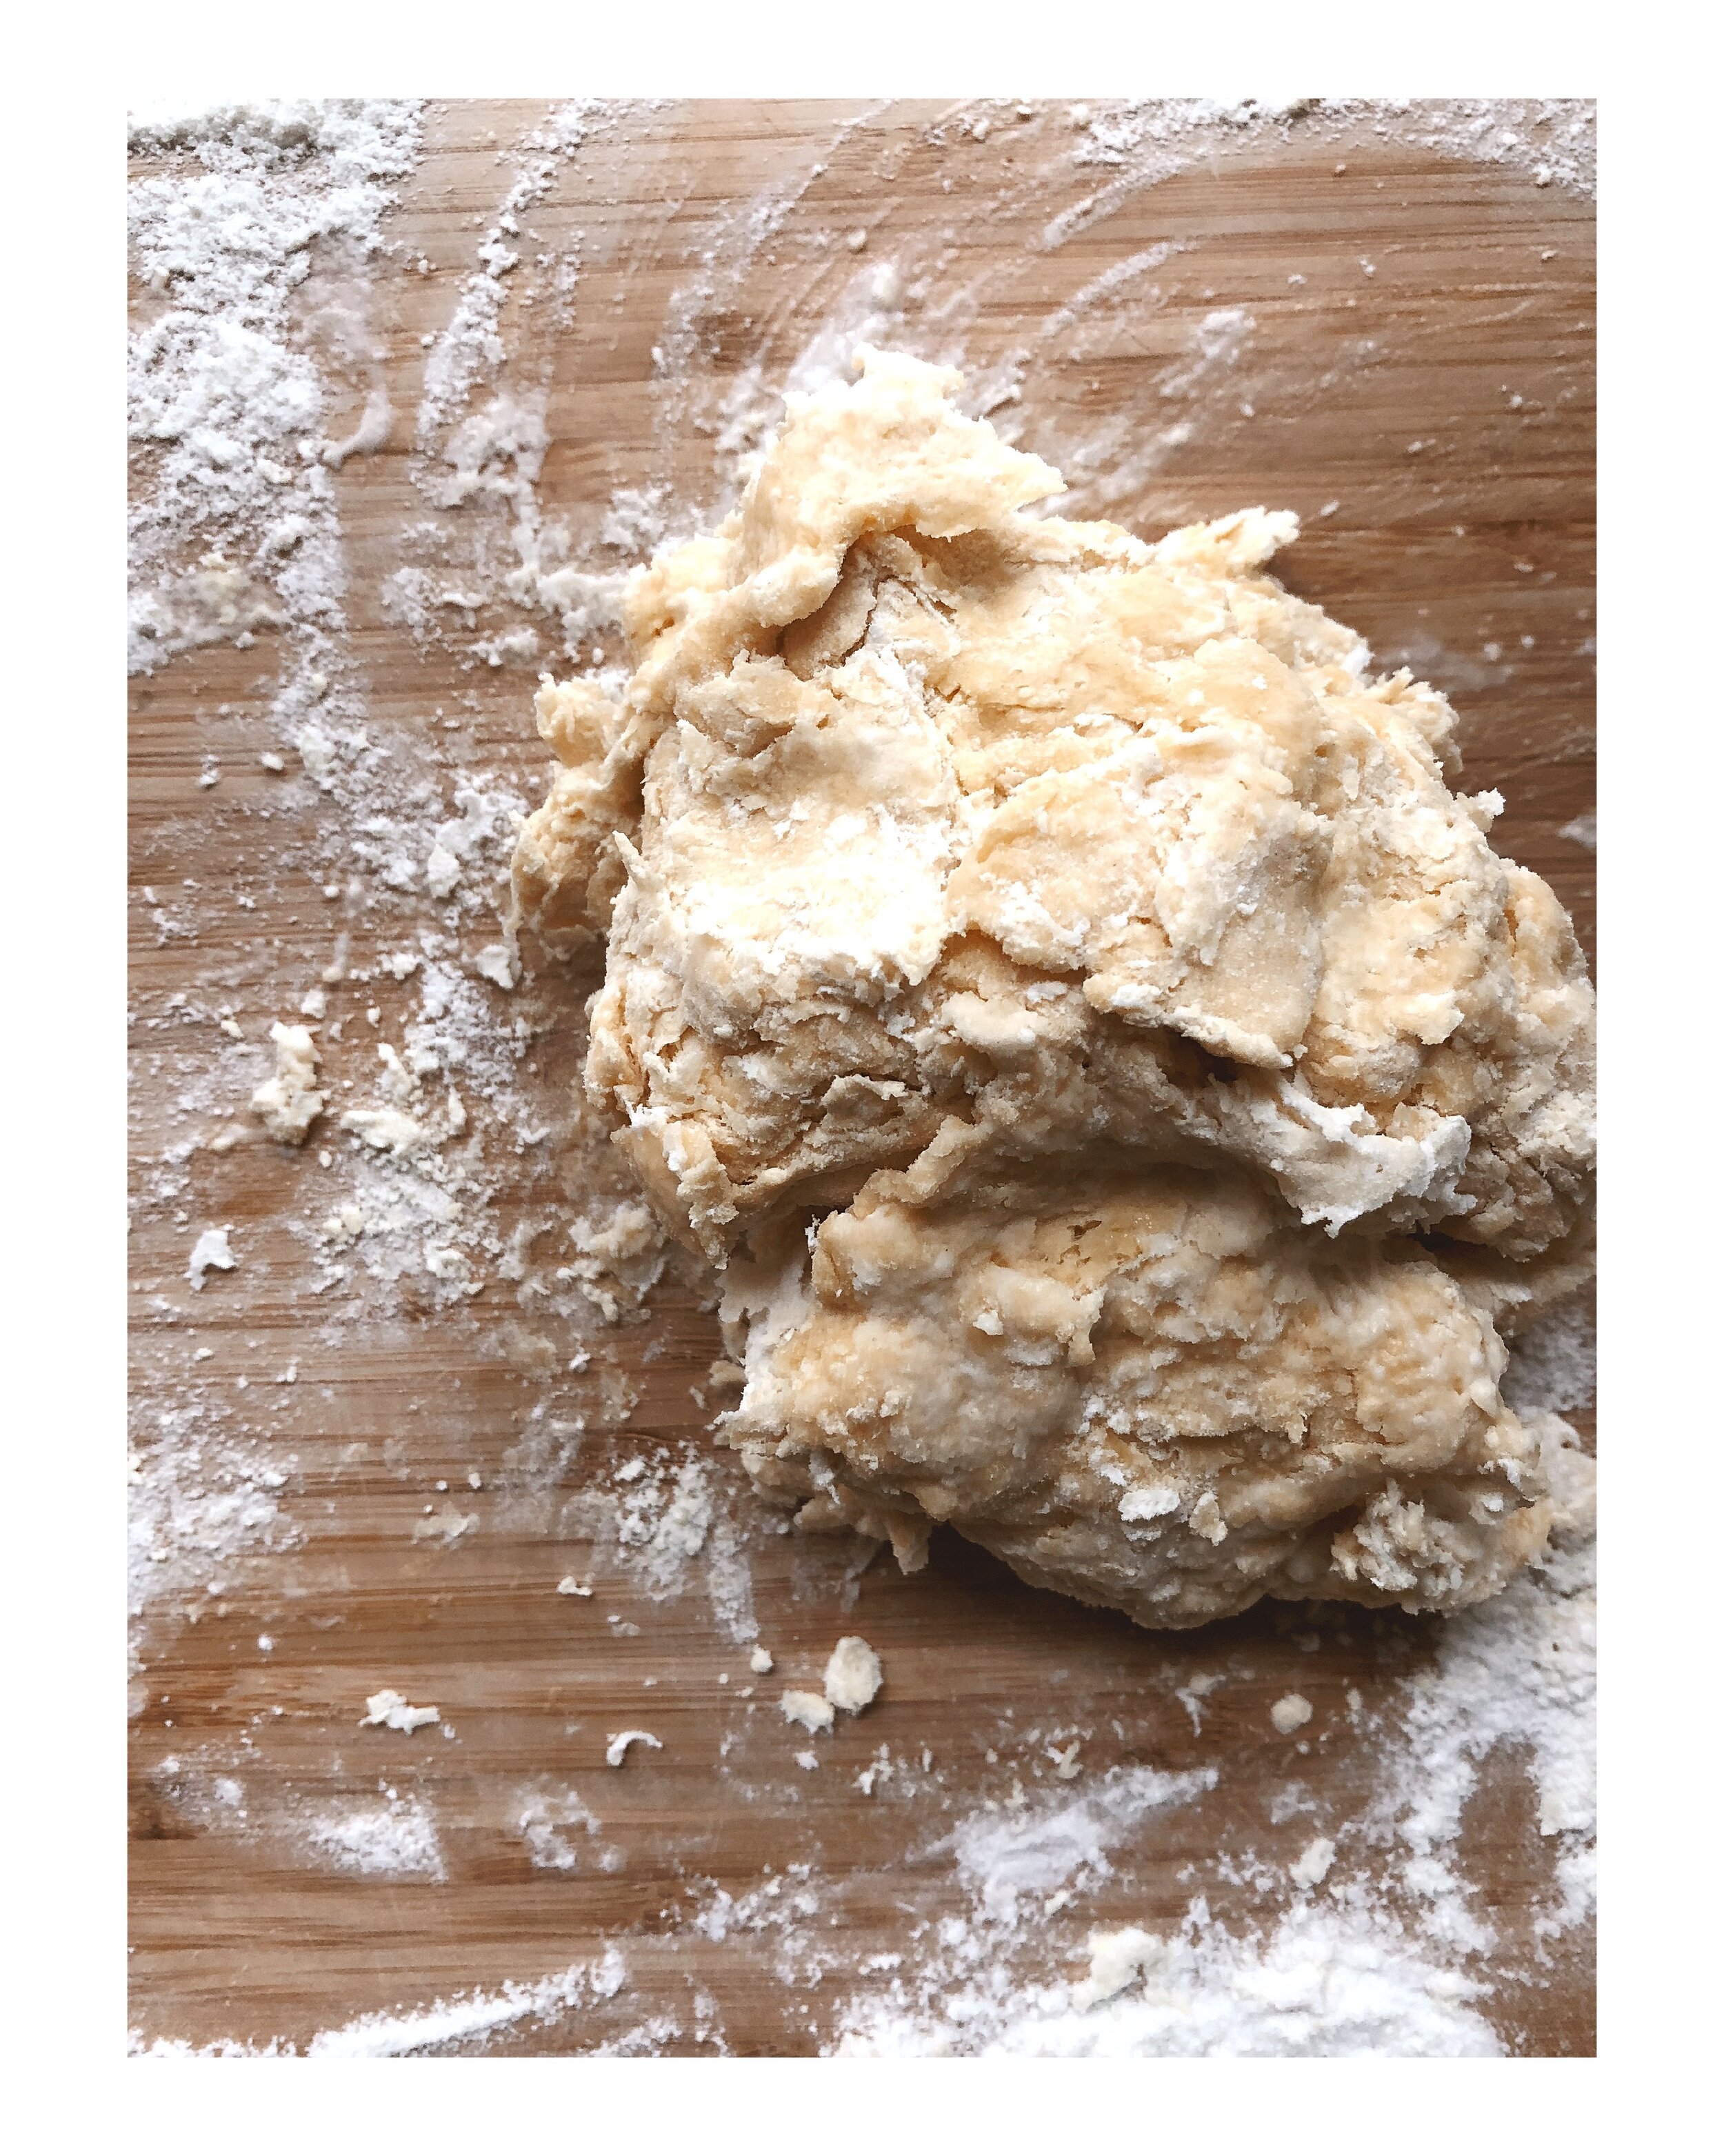
With your dough ball on the wood board transition to kneading. Work the dough for 15 minutes, resting your hands and shoulders for a few minutes if needed.
The dough at this stage should be soft and smooth and bounce back when you gently push it with your fingertip. Wrap in plastic and leave to rest for 30 minutes. The gluten must relax so that the rolling process is easier. You’ll know it has rested long enough when you push your finger into the dough, it doesn’t spring back ( the opposite of what happened just after the kneading process).
Proceed with rolling and shaping the dough as per your chosen pasta recipe.

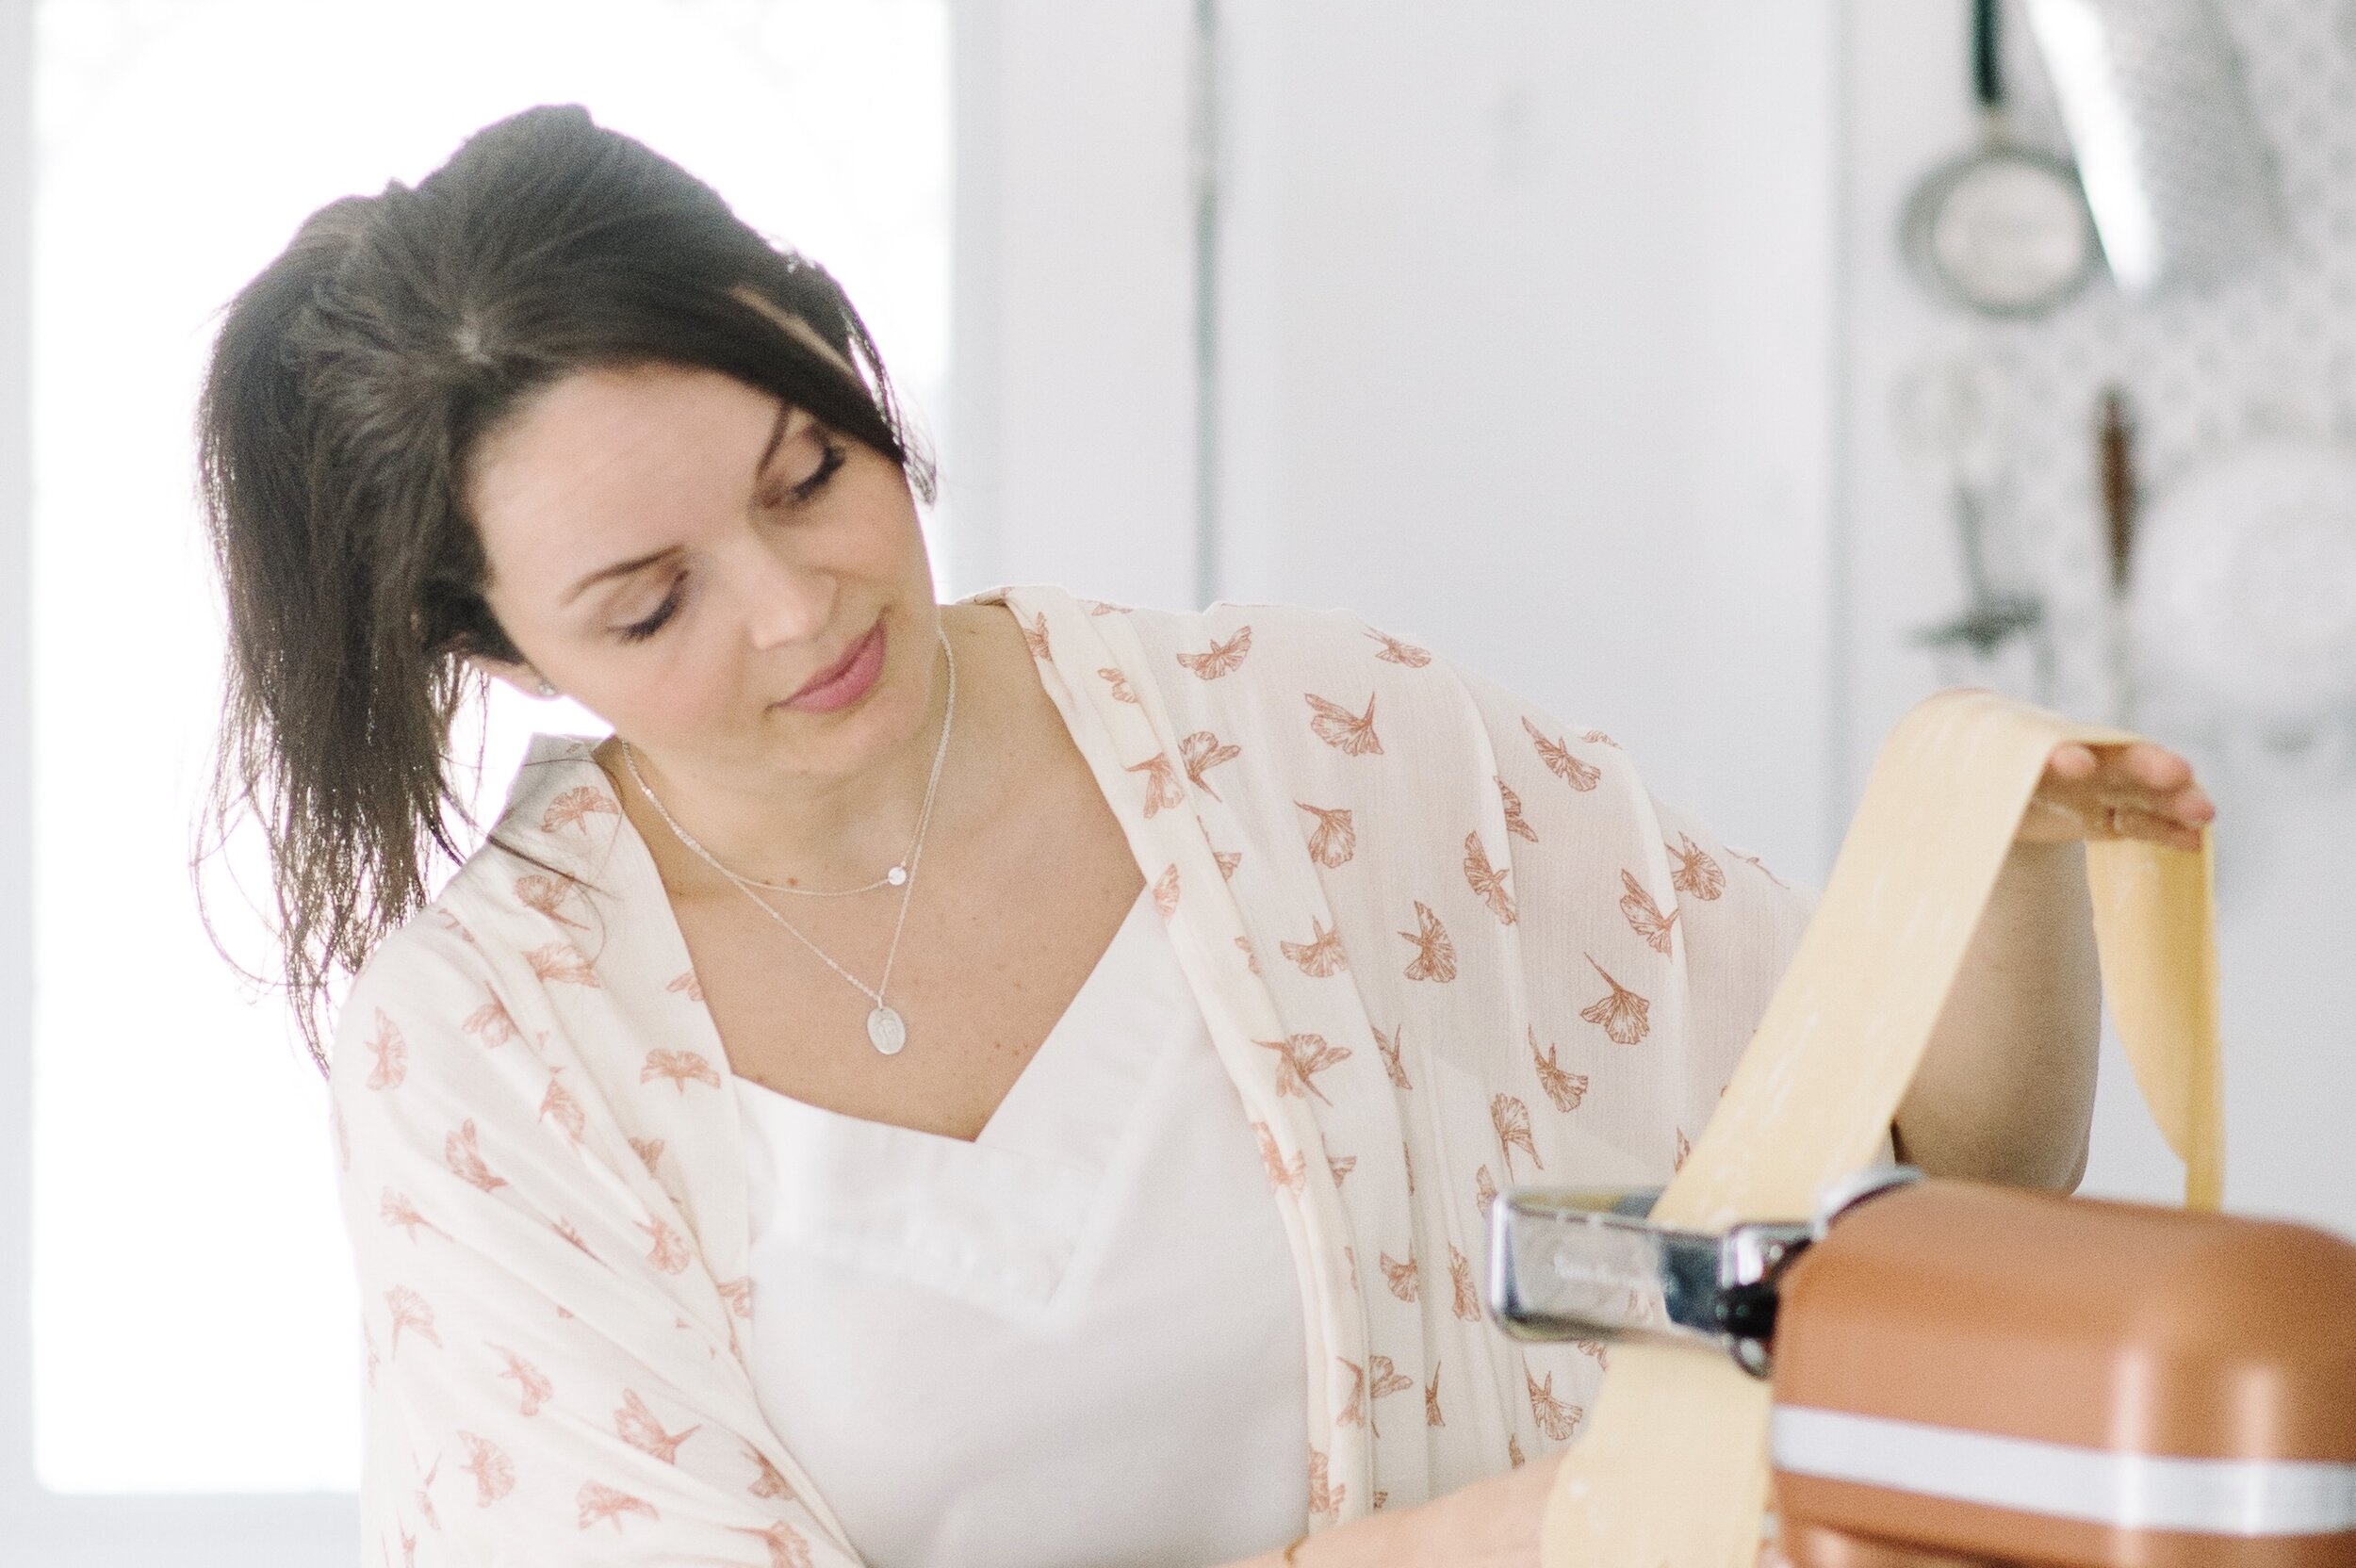
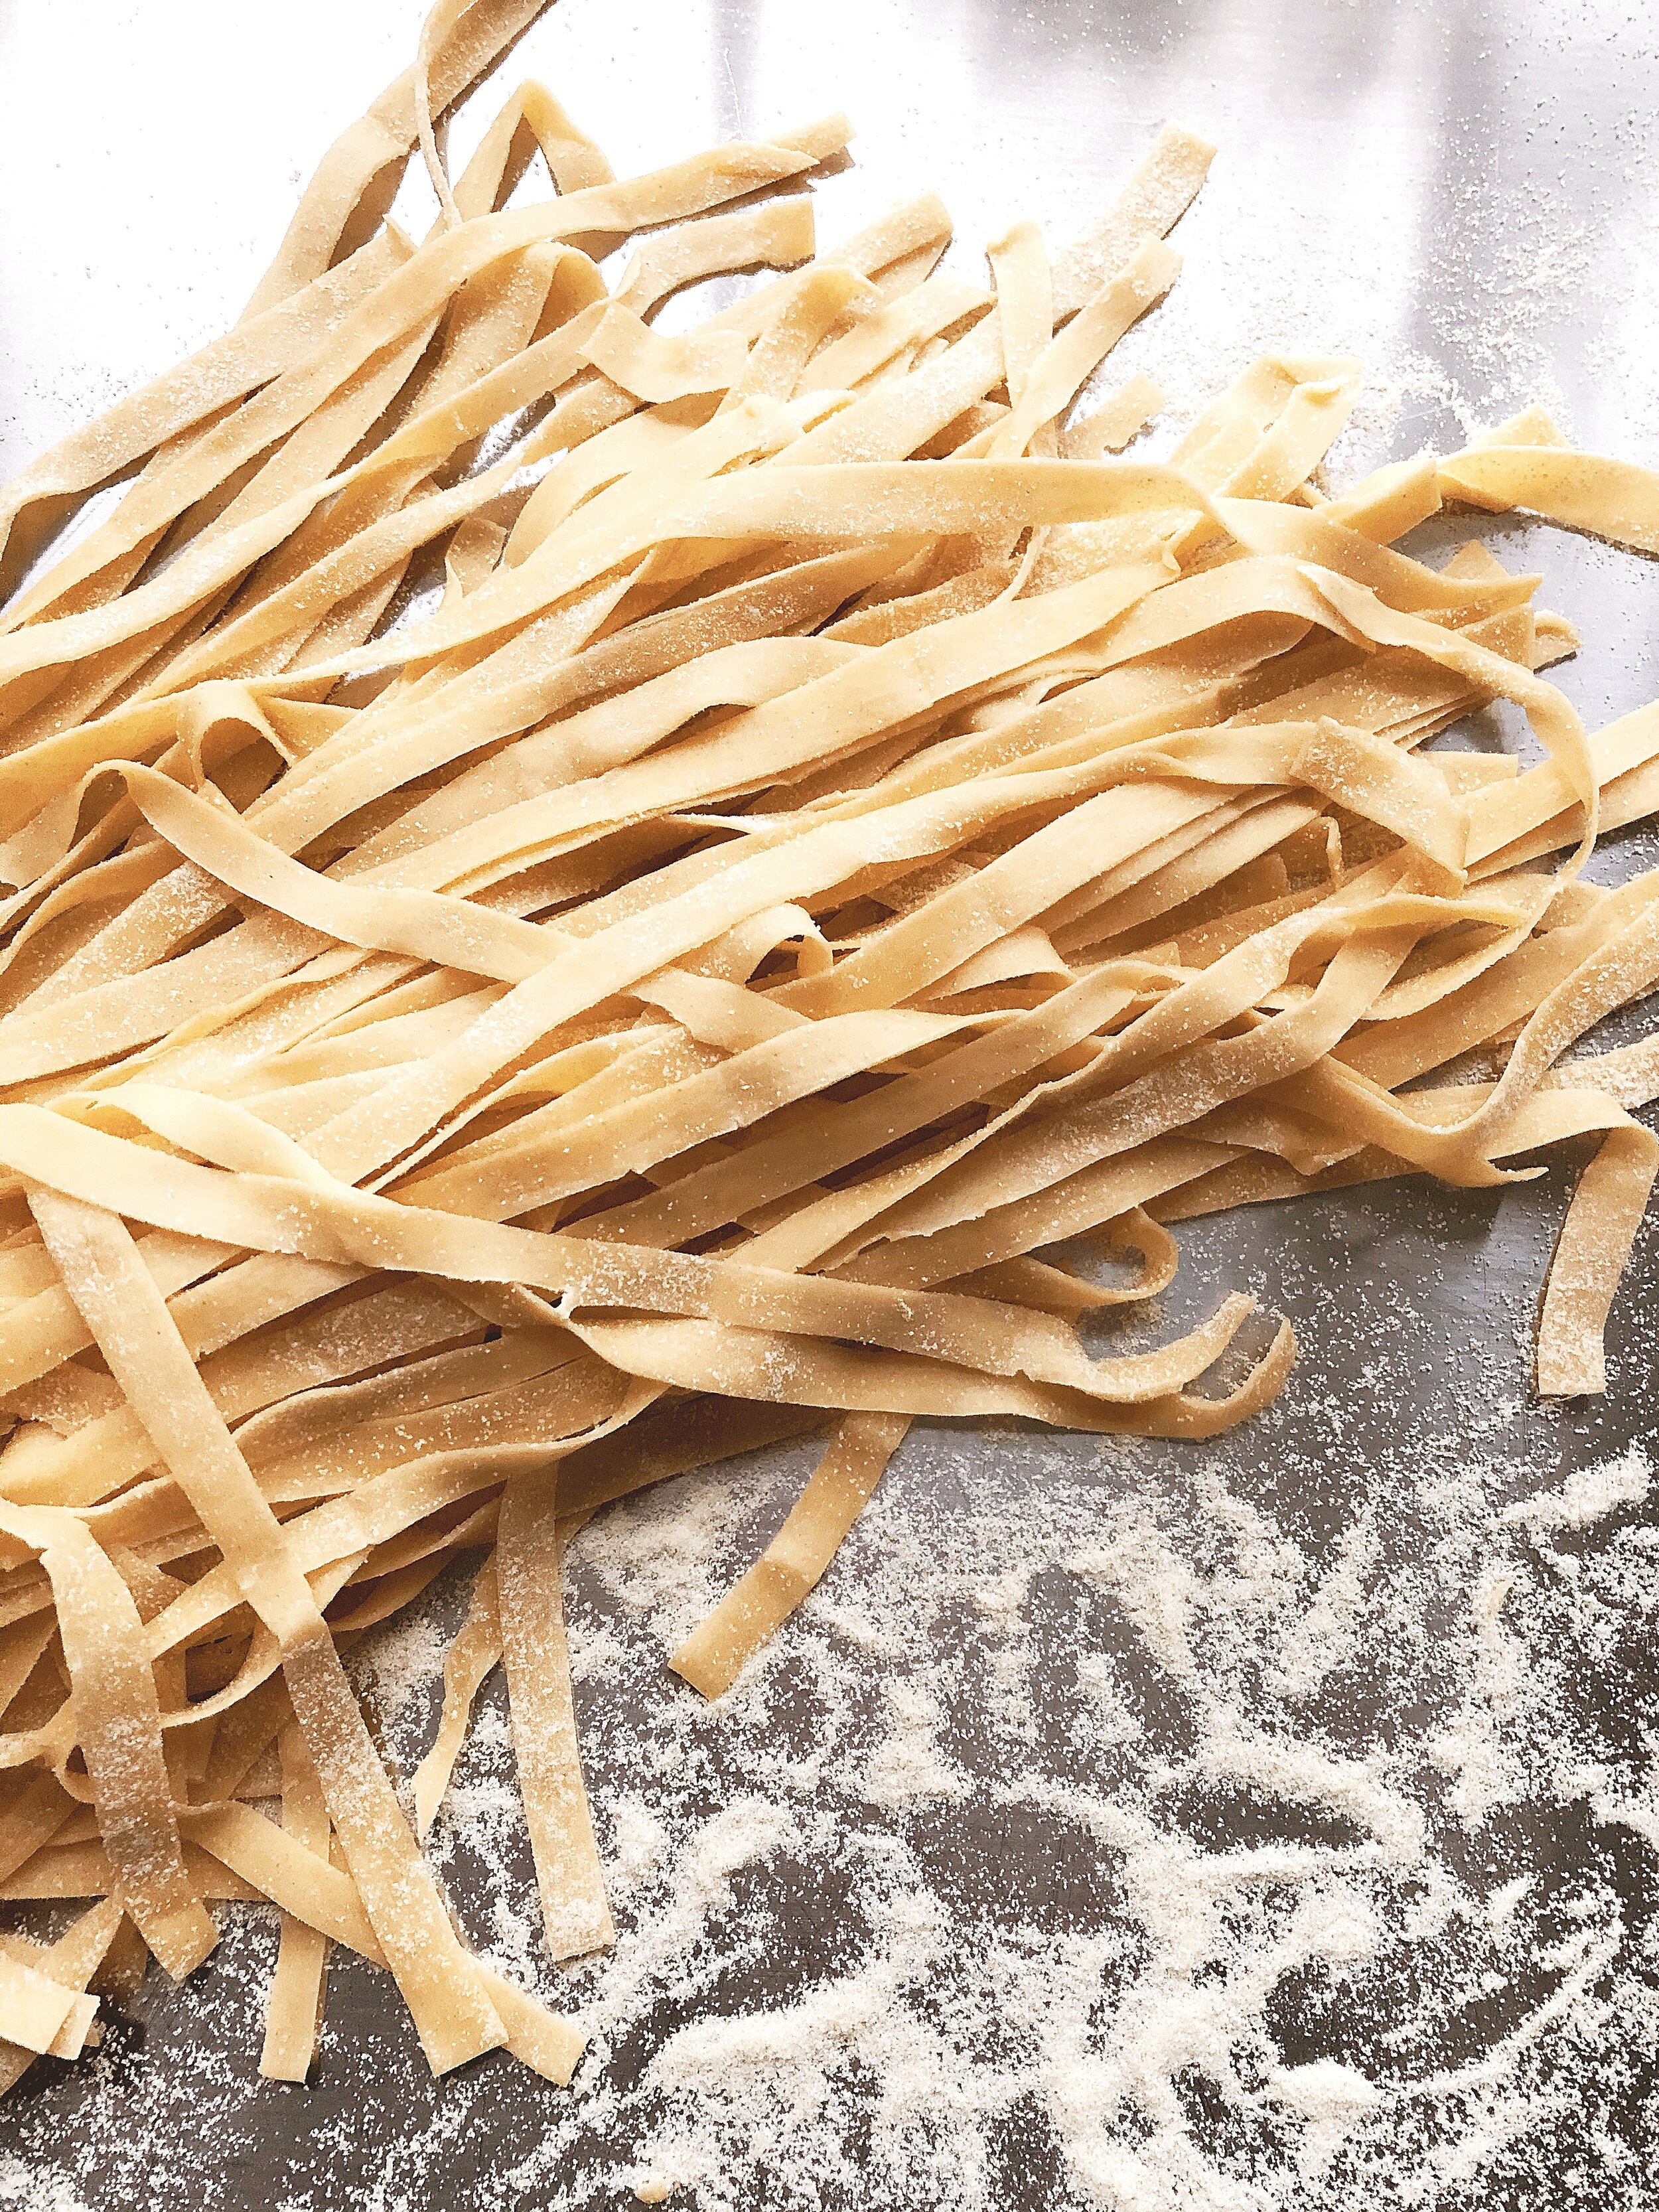
I have shown tagliatelle here. I cut the dough into two or three pieces depending on my chosen rolling method (by hand with a pin or using a hand crank roller or electric roller). Roll out until thin, almost see through. I use a little dusting of flour on my board and on the dough sheet while rolling to regulate moisture and add some texture. l like to let the sheets air dry for about 10 minutes on a porous surface (wood) before cutting into tagliatelle.
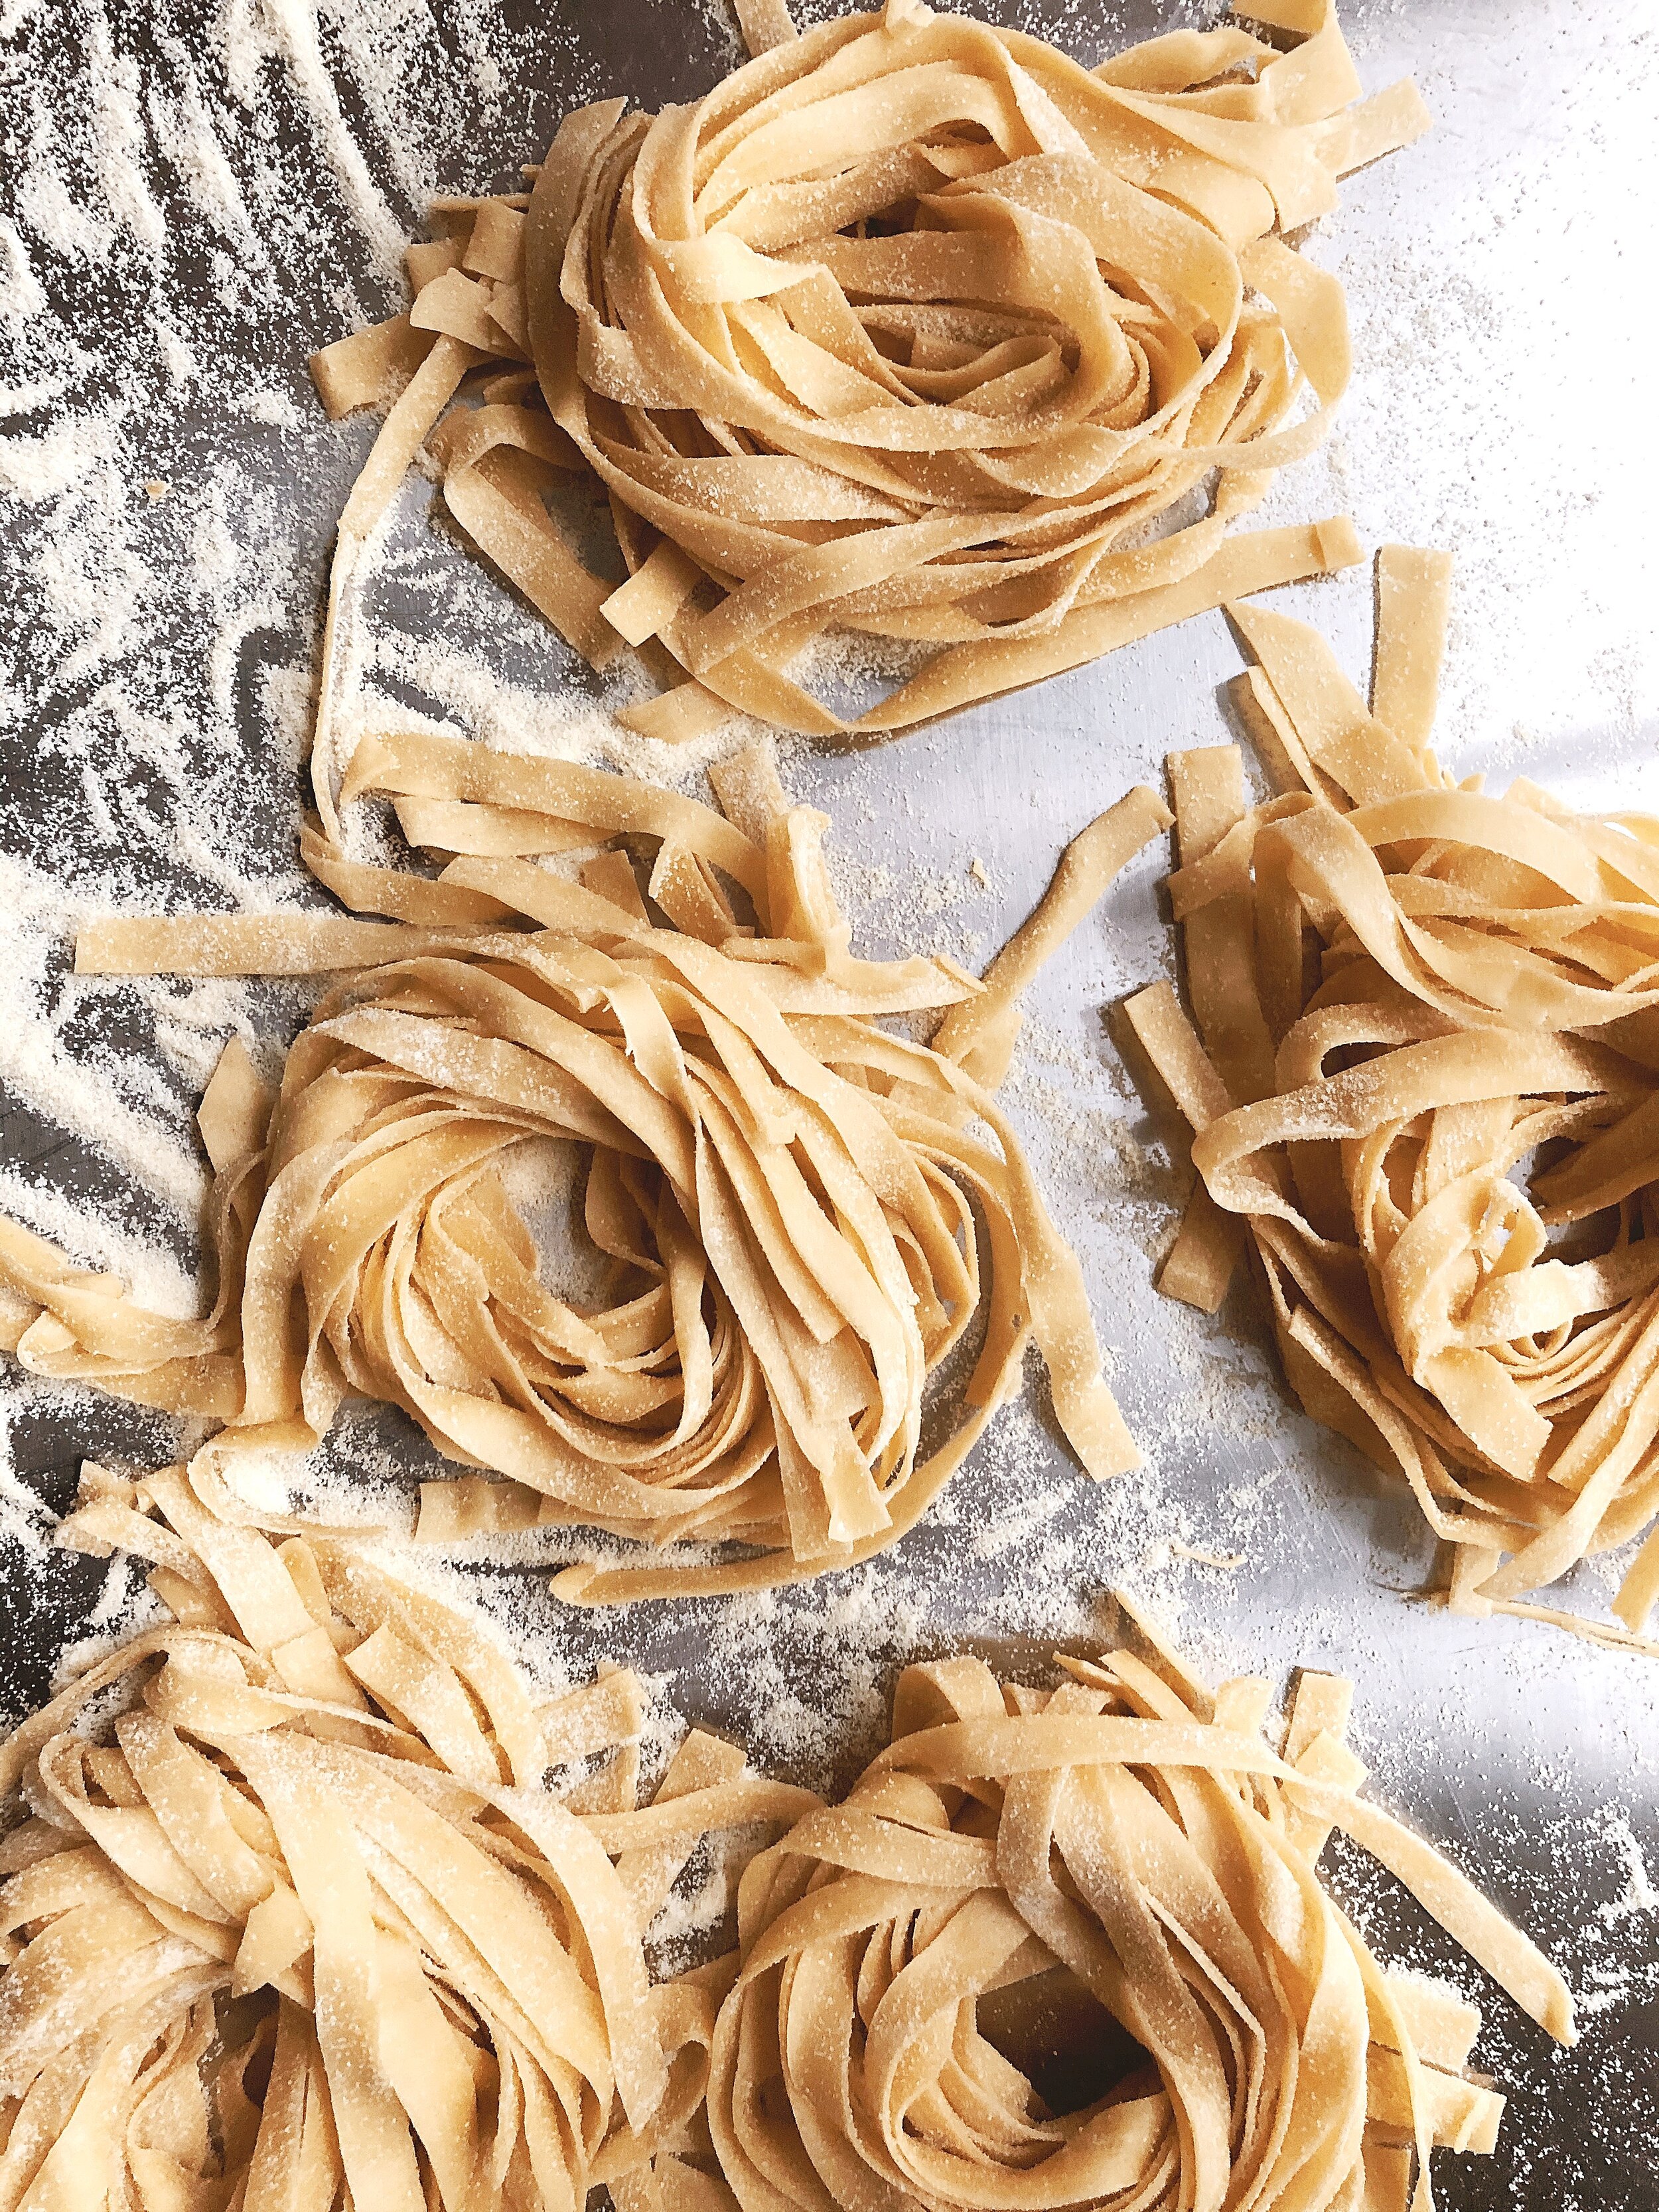
Gently roll up each sheet and slice into 1/4 inch think ribbons. Lift and unravel the ribbons and bundle into little nests. Dust with fine semolina and continue with the remaining sheets.
You can leave the tagliatelle to rest for 30 minutes, it will dry some more. You can flash freeze it immediately for use another time or drop in salted boiling water to serve with sauce/ragu.